
Embarking on the journey of assembling a lifetime basketball goal can be both exciting and daunting. This guide will simplify the process, ensuring that you not only set up the equipment securely but also create a lasting foundation for endless hoop enjoyment.
In the realm of basketball enthusiasts, owning a Lifetime basketball goal is a game-changer. However, the initial assembly might seem like a slam-dunk challenge. Fear not! This comprehensive guide breaks down the process, providing step-by-step instructions and invaluable tips to make assembling your hoop a breeze.
From securing the base to attaching the backboard, each step in assembling a Lifetime basketball goal requires precision. This guide covers essential tools, detailed instructions, and insider tricks, ensuring a seamless setup process that guarantees years of slam-dunking fun for you and your friends.
Selecting the Right Location
Find a flat and open area in your yard, away from obstacles like trees and overhanging branches. Make sure the ground is stable and not prone to flooding, providing a safe space for dribbling, shooting, and playing intense games without any hindrance.
Consider the surroundings too; ensure there’s ample space around the hoop for players to move freely. A location with good visibility and lighting, especially if you plan on playing in the evenings, adds to the overall enjoyment. By selecting the right location, you set the stage for countless hours of basketball fun right at your doorstep.
Unboxing and Organizing Parts
Unboxing your Lifetime basketball goal is the first step to slam-dunk success. Carefully open the package, ensuring you have all the parts listed in the manual. Lay them out in an organized manner, making it easier to locate and assemble each component. This simple yet crucial step sets the stage for a smooth assembly process.
Once you’ve unboxed everything, take a moment to familiarize yourself with the different parts. Identify the poles, backboard, rim, and hardware. Group similar items together to streamline the assembly. Having a clear visual of all the pieces ensures you won’t miss a step, making the process less overwhelming.
Understanding the Assembly Manual
As you embark on putting together your Lifetime basketball goal, take a moment to understand the assembly manual. Begin by carefully unpacking all the components, and organizing them for easy access. Look through the manual, identifying each part and familiarizing yourself with the step-by-step instructions.
Once you’ve organized everything, start assembling the base and pole as outlined in the manual. Follow the clear illustrations and concise directions to securely attach the backboard and rim. Take your time with each step, ensuring a sturdy foundation. Understanding the assembly manual is key to a smooth setup process and guaranteeing a basketball goal that stands tall for countless games to come.
Assembling the Base and Pole
Assembling the base and pole of your Lifetime basketball goal is a crucial step in ensuring stability. First, lay out all the parts and tools. Connect the pole sections, following the manual’s instructions. Tighten the bolts securely. Next, attach the base to the pole, making sure it’s aligned properly. Tighten those bolts too.
Some poles have height adjustment mechanisms; make sure these are properly connected. As you assemble, double-check your work to avoid any wobbling or instability. This ensures your Lifetime basketball goal stands tall and strong, ready for countless games and slam dunks.
Attaching the Backboard and Rim

Attaching the backboard and rim is a crucial step in setting up your Lifetime basketball goal. First, locate the pre-drilled holes on the backboard and match them with the corresponding holes on the mounting brackets. Use the provided bolts and nuts to secure the backboard firmly in place.
Next, connect the rim to the designated attachment points on the bottom side of the backboard. Tighten the screws securely to ensure stability during play. Double-check all connections to make sure everything is snug and aligned. Once completed, this step brings you one slam dunk closer to enjoying your new basketball goal.
Securing the Height Adjustment Mechanism
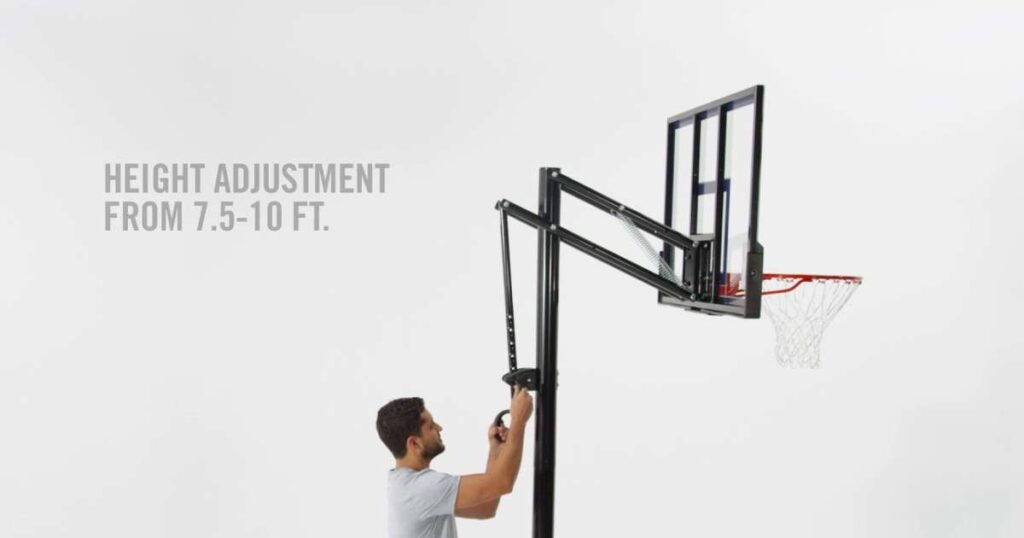
Securing the height adjustment mechanism is crucial for a stable and reliable basketball goal, especially when learning how to assemble a basketball goal. Begin by identifying the height adjustment components in the manual. Use the provided tools to tighten all bolts and screws, ensuring a snug fit. Regularly check and tighten these connections to prevent wobbling during play.
Once the height adjustment is secure, test the mechanism by adjusting the hoop’s height a few times. Confirm that it moves smoothly and locks into place at different heights. This simple but vital process ensures a safe and enjoyable basketball experience, allowing players of all ages to easily customize the hoop to their preferred playing level.
Ensuring Stability: Anchoring the System
Anchoring the system is crucial for stability. Use anchors provided in the kit. Place them in the ground holes, ensuring a secure fit. Tighten firmly to prevent wobbling during play. This step guarantees a safe and sturdy basketball setup.
Consider the type of surface. If it’s concrete, use anchor bolts. For grass or soil, ground stakes work best. Check the manual for specific instructions. Anchoring ensures your Lifetime basketball goal stays put, ready for countless games and slam dunks without worry.
Final Checks and Adjustments

Once you’ve put together your Lifetime basketball goal, it’s time for final checks. Ensure all bolts are tight, and parts are securely connected. Verify the hoop’s height adjustment functions smoothly.
Check the backboard’s alignment and make any necessary adjustments. Test the rim’s sturdiness by gently hanging on it. Lastly, give the entire assembly a visual inspection to catch any overlooked details. Making these final checks ensures your basketball goal is ready for action, providing a safe and enjoyable experience for every game.
Maintenance Tips for Longevity
| Maintenance Task | Description |
| Regular Inspection | Check for loose screws or damaged parts; tighten or replace. |
| Lubricate Moving Parts | Apply lubricant to ensure smooth operation of the mechanism. |
| Clean Backboard and Rim | Use a mild solution and soft cloth for a regular cleaning. |
| Weather Protection | During harsh weather, cover the goal or move it indoors. |
| Routine Care | Perform simple maintenance regularly for prolonged durability. |
To keep your Lifetime basketball goal in top-notch condition, regularly inspect all parts for wear and tear. Tighten loose screws, and replace any damaged components promptly. Lubricate moving parts, such as the height adjustment mechanism, to ensure smooth operation.
Additionally, clean the backboard and rim with a mild solution and a soft cloth to maintain their appearance. During harsh weather, consider covering the goal or moving it indoors to protect it from the elements. Simple, routine care will extend the life of your basketball goal, ensuring years of slam-dunking enjoyment.
FAQs
What tools do I need to assemble a Lifetime basketball goal?
Basic tools like a wrench and screwdriver are usually sufficient. Check the manual for specifics.
How long does it take to assemble the basketball goal?
The time varies, but with clear instructions, it can take a few hours. Enlist a friend for quicker assembly.
Can I install the basketball goal on my own?
Yes, but having a helper can make the process smoother, especially when handling larger parts.
Is it necessary to anchor the basketball goal?
Yes, anchoring ensures stability. Follow the instructions for proper installation to prevent accidents.
Can I disassemble and move the basketball goal later?
Yes, most Lifetime basketball goals are designed for portability. Follow the reverse steps in the manual for disassembly.
Conclusion
By carefully following the step-by-step instructions and utilizing basic tools, you can create a sturdy and reliable hoop for endless enjoyment. Remember to prioritize safety by anchoring the system securely, and consider enlisting a friend for a quicker and more efficient assembly process.
As you complete the assembly, take pride in your accomplishment, knowing that you’ve set the foundation for years of slam-dunking fun. Regular maintenance, including simple checks and lubrication, will ensure the longevity of your basketball goal. Now, go ahead and embrace the thrill of shooting hoops in the comfort of your own space, creating lasting memories with family and friends.